Getting Started with SystemVerilog using Verilator and Surfer
SystemVerilog is a powerful hardware description and verification language used in modern digital design. In this tutorial, we’ll walk through setting up a complete simulation environment using Verilator (a fast, open-source simulator) and Surfer (a modern waveform viewer), then create and simulate a simple multiplexer design.
Verilator converts Verilog and SystemVerilog HDLs (hardware description languages) designs to C++ or SystemC model. These converted models can be compiled and executed to run the simulations. User creates the design using HDL of choice and then Verilator is used to convert it to C++ or SystemC (called verilating). The converted code is referred as verilated model. To know more about Verilator, refer to the documentation.
Surfer waveform viewer is brand new waveform viewer. GTKWave has been an open source fully featured waveform viewer dominating the waveform viewer space for very long. GTKWave is a mature and stable waveform viewer. However, that also leads to it being prone to stagnent growth. Surfer claims to be an extensible and snappy waveform viewer. It is a brand new tool created grounds up using Rust. The focus has been on extensibility and its integration with modern HDL languages like Chisel, Spade. It can be tested in a web browser even without installing anything as it can be compiled to WebAssembly.
In this article we will look into setting up Verilator and Surfer. Then we will create a simple mux design along with testbench and simulate the design.
Installing Verilator
As per Verilator documentation, it can be installed in multiple ways.
Using Package Manager
The simplest and fasted being using the package manager on your OS to install it. On Ubuntu, a simple apt install should get it done:
sudo apt install verilator
However, since the packages in OS repository generally lag behind the latest and greatest, it will not be latest released version in most of the cases. To get to latest version, we can install it from the sources. Next we will look into how to install Verilator from source.
Installing from Git
Install Dependencies
Install the prerequisite dependencies, which are compiler, build tools and other libraries required to build Verilator from source:
sudo apt update
sudo apt install -y git perl python3 make autoconf g++ flex bison ccache
sudo apt install -y libgoogle-perftools-dev numactl perl-doc
sudo apt install -y libfl2 libfl-dev zlib1g zlib1g-dev
sudo apt install help2man
Clone and Build Verilator
Next, we will clone Verilator source from repository and build it. In this set of steps, we are building the source from stable branch. You can browse tags or build from other available branches (for example master) as required.
git clone https://github.com/verilator/verilator
cd verilator
git checkout stable  # Choose your branch
autoconf
./configure
make -j$(nproc)
sudo make install
Running make will take time based on number of cores present on your system. If you are using a virtual machine with limited core, this step might take significant time.
Verify Installation
If there are no errors in above steps, Verilator install should be successful. Validate by running following command:
verilator --version
You should see output showing the Verilator version installed similar to following based on the version being installed.
circuit@quest:~/verilator$ verilator --version
Verilator 5.040 2025-08-30 rev v5.040-50-g0a9d9db5a
Installing Surfer
Now that, we have Verilator compiled and install, lets move ahead with installing Surfer. Surfer also has multiple ways to install. One of them being installing it from the released binary.
Install using pre-build binaries
Download Surfer
Visit the Surfer home page, copy the link for your OS and download the zip file:
wget https://gitlab.com/api/v4/projects/42073614/jobs/artifacts/main/raw/surfer_linux.zip?job=linux_build
Alternatively, the links can be found on the Gitlab release page of the project.
Extract and Install
The zip contains two binary files: surfer and surver. First one is the waveform viewer, while the later on is used to run a waveform viewer server which enables for remote waveform viewing.
unzip surfer-linux.zip
sudo mv surfer /usr/local/bin/
sudo chmod +x /usr/local/bin/surfer
It is not a requirement to move the files to /usr/local/bin and it can always be invoked from the unzipped path. Another option is to add the unzipped path to system PATH variable.
Verify Installation
You can check the version of surfer to validate successful installation.
surfer --version
Installing from source
Since I am using arm64 version of Ubuntu, directly downloaded binary didn’t work for me. Next we will try the installation from source. Since surfer is created using Rust, we would need to setup the build environment to enable building the tool.
Install dependencies
Surfer depends on openssl. So we will be installing it first.
sudo apt install openssl
sudo apt install libssl-dev
sudo apt install pkg-config
These instructions are being followed on Ubuntu 25.04. If you are using a different OS, please refer to the README file in the source repository.
We will install Rust using Rustup:
curl --proto '=https' --tlsv1.2 -sSf https://sh.rustup.rs | sh
You can choose to proceed with default installation when prompted. This step will take some time to download and install Rust and other tools in the tool chain. Check with cargo if it is installed.
Install surfer using cargo
Use cargo to to fetch and install surfer.
cargo install --git https://gitlab.com/surfer-project/surfer.git surfer
If cargo is not able to find OPENSSL despite of installing in above step, then the system is likely missing pkg-config.
  Could not find openssl via pkg-config:
  Could not run PKG_CONFIG_ALLOW_SYSTEM_CFLAGS=1 pkg-config --libs --cflags openssl
  The pkg-config command could not be found.

  Most likely, you need to install a pkg-config package for your OS.
  Try apt install pkg-config, or yum install pkg-config, or brew install pkgconf
  or pkg install pkg-config, or apk add pkgconfig depending on your distribution.

  If you've already installed it, ensure the pkg-config command is one of the
  directories in the PATH environment variable.

  If you did not expect this build to link to a pre-installed system library,
  then check documentation of the openssl-sys crate for an option to
  build the library from source, or disable features or dependencies
  that require pkg-config.
If this is the error message you recieved, install pkg-config using:
sudo apt install pkg-config
After this, rerun the cargo install command from above. It should work this time.
Once the installation is successful, it should be installed in /home/user/.cargo/bin/surfer. This path should already be added to your system PATH variable when install Rust using rustup. The version of Surfer can be checked as shown above. Running surfer command should launch the Surfer window.
Get source code and build
If you want to try doing steps manually and just build it in a local directory, it can be done with:
git clone git@gitlab.com:surfer-project/surfer.git
cd surfer
git submodule update --init --recursive
cargo build --release
Creating a Multiplexer Design
Now let’s create a simple 2:1 multiplexer in SystemVerilog.
Create Project Directory
mkdir -p ~/designs
cd ~/designs
Create the Multiplexer Design (mux2to1.sv)
Create a file named mux2to1.sv:
// mux2to1.sv - 2:1 Multiplexer
module mux2to1 (
    input  logic       sel,    // Select signal
    input  logic [7:0] a,      // Input A (8-bit)
    input  logic [7:0] b,      // Input B (8-bit)
    output logic [7:0] out     // Output (8-bit)
);

    always_comb begin
        if (sel)
            out = b;
        else
            out = a;
    end

endmodule
Create the Testbench (tb_mux2to1.sv)
Create a file named tb_mux2to1.sv:
// tb_mux2to1.sv - Testbench for 2:1 Multiplexer
module tb_mux2to1;
    logic       sel;
    logic [7:0] a;
    logic [7:0] b;
    logic [7:0] out;

    // Instantiate the multiplexer
    mux2to1 dut (
        .sel(sel),
        .a(a),
        .b(b),
        .out(out)
    );

    // Clock for time reference (optional)
    logic clk = 0;
    always #5 clk = ~clk;

    // Stimulus
    initial begin
        // Initialize VCD dump for waveform viewing
        $dumpfile("mux2to1.vcd");
        $dumpvars(0, tb_mux2to1);

        // Test cases
        $display("Starting MUX testbench...");

        // Test 1: sel=0, should select input a
        sel = 0; a = 8'hAA; b = 8'h55;
        #10;
        $display("Test 1: sel=%b, a=%h, b=%h, out=%h (expected AA)", sel, a, b, out);

        // Test 2: sel=1, should select input b
        sel = 1; a = 8'hAA; b = 8'h55;
        #10;
        $display("Test 2: sel=%b, a=%h, b=%h, out=%h (expected 55)", sel, a, b, out);

        // Test 3: Change inputs with sel=0
        sel = 0; a = 8'hFF; b = 8'h00;
        #10;
        $display("Test 3: sel=%b, a=%h, b=%h, out=%h (expected FF)", sel, a, b, out);

        // Test 4: Change inputs with sel=1
        sel = 1; a = 8'hFF; b = 8'h00;
        #10;
        $display("Test 4: sel=%b, a=%h, b=%h, out=%h (expected 00)", sel, a, b, out);

        // Test 5: Multiple transitions
        sel = 0; a = 8'h12; b = 8'h34;
        #10;
        sel = 1;
        #10;
        sel = 0;
        #10;
        sel = 1;
        #10;

        $display("Testbench completed!");
        $finish;
    end

endmodule
Verilate and Simulate the design
Traditionally, Verilator required a wrapper C++ file to execute the simulation. The testbench code had to be written in C++ while SystemVerilog code was expected to synthesizable. Over time, as requests for UVM verification related code started getting implemented, verification related features got implemented too.
With that came in the support for simulating testbenches without any C++ code. We will be using it for purpose of this tutorial. --binary option tells Verilator to build a binary directly from your SystemVerilog sources.
verilator --binary --trace mux2to1.sv tb_mux2to1.sv

Once verilation is complete, you should have a file ./obj_dir/Vmux2to1 generated. obj_dir directory also contains generated C++ files which it compiled to create the final executable. To run simulate we can just run ./obj_dir/Vmux2to1.
./obj_dir/Vmux2to1
You should see output like:
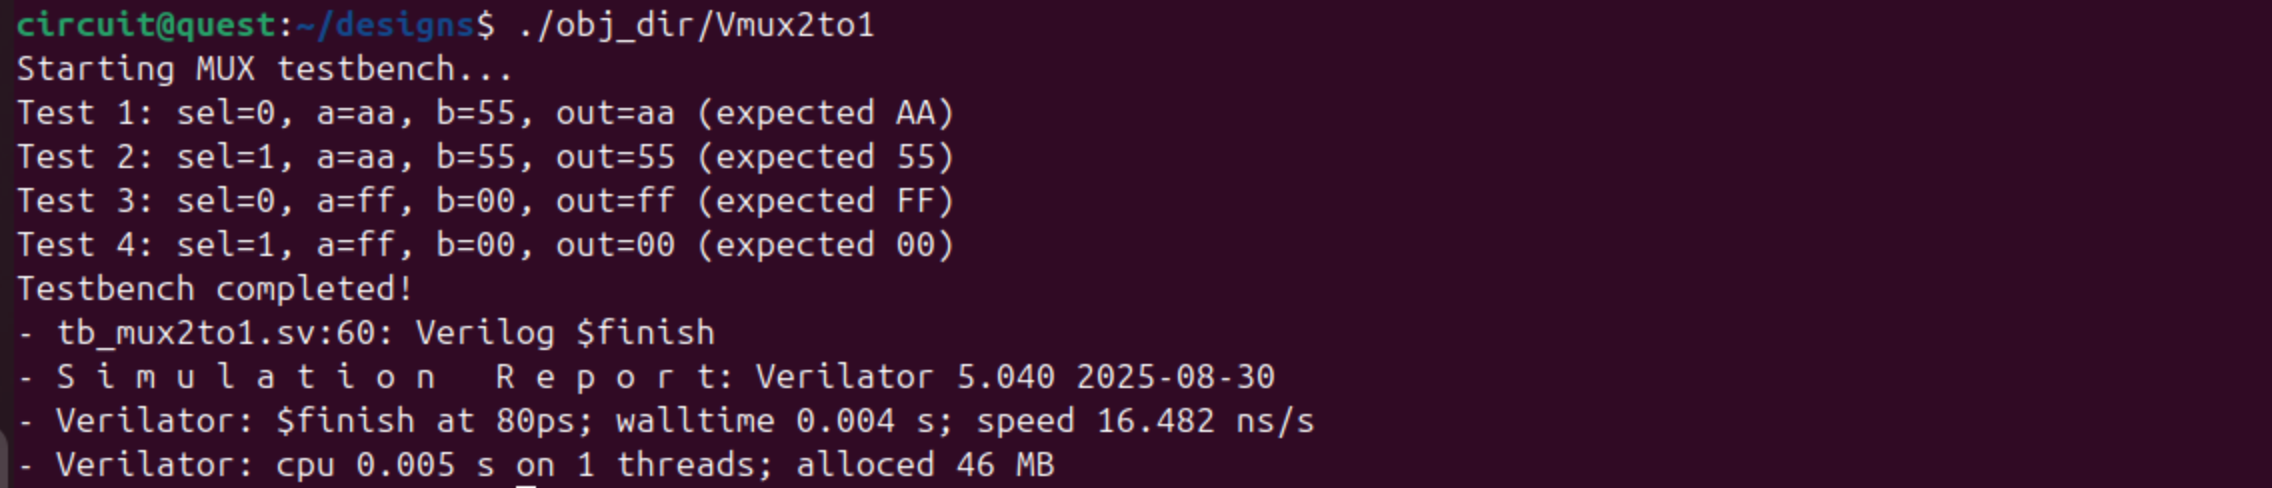
This will also generate a mux2to1.vcd file containing the waveform data.
Viewing Waveforms with Surfer
Now let’s visualize the simulation results using Surfer:
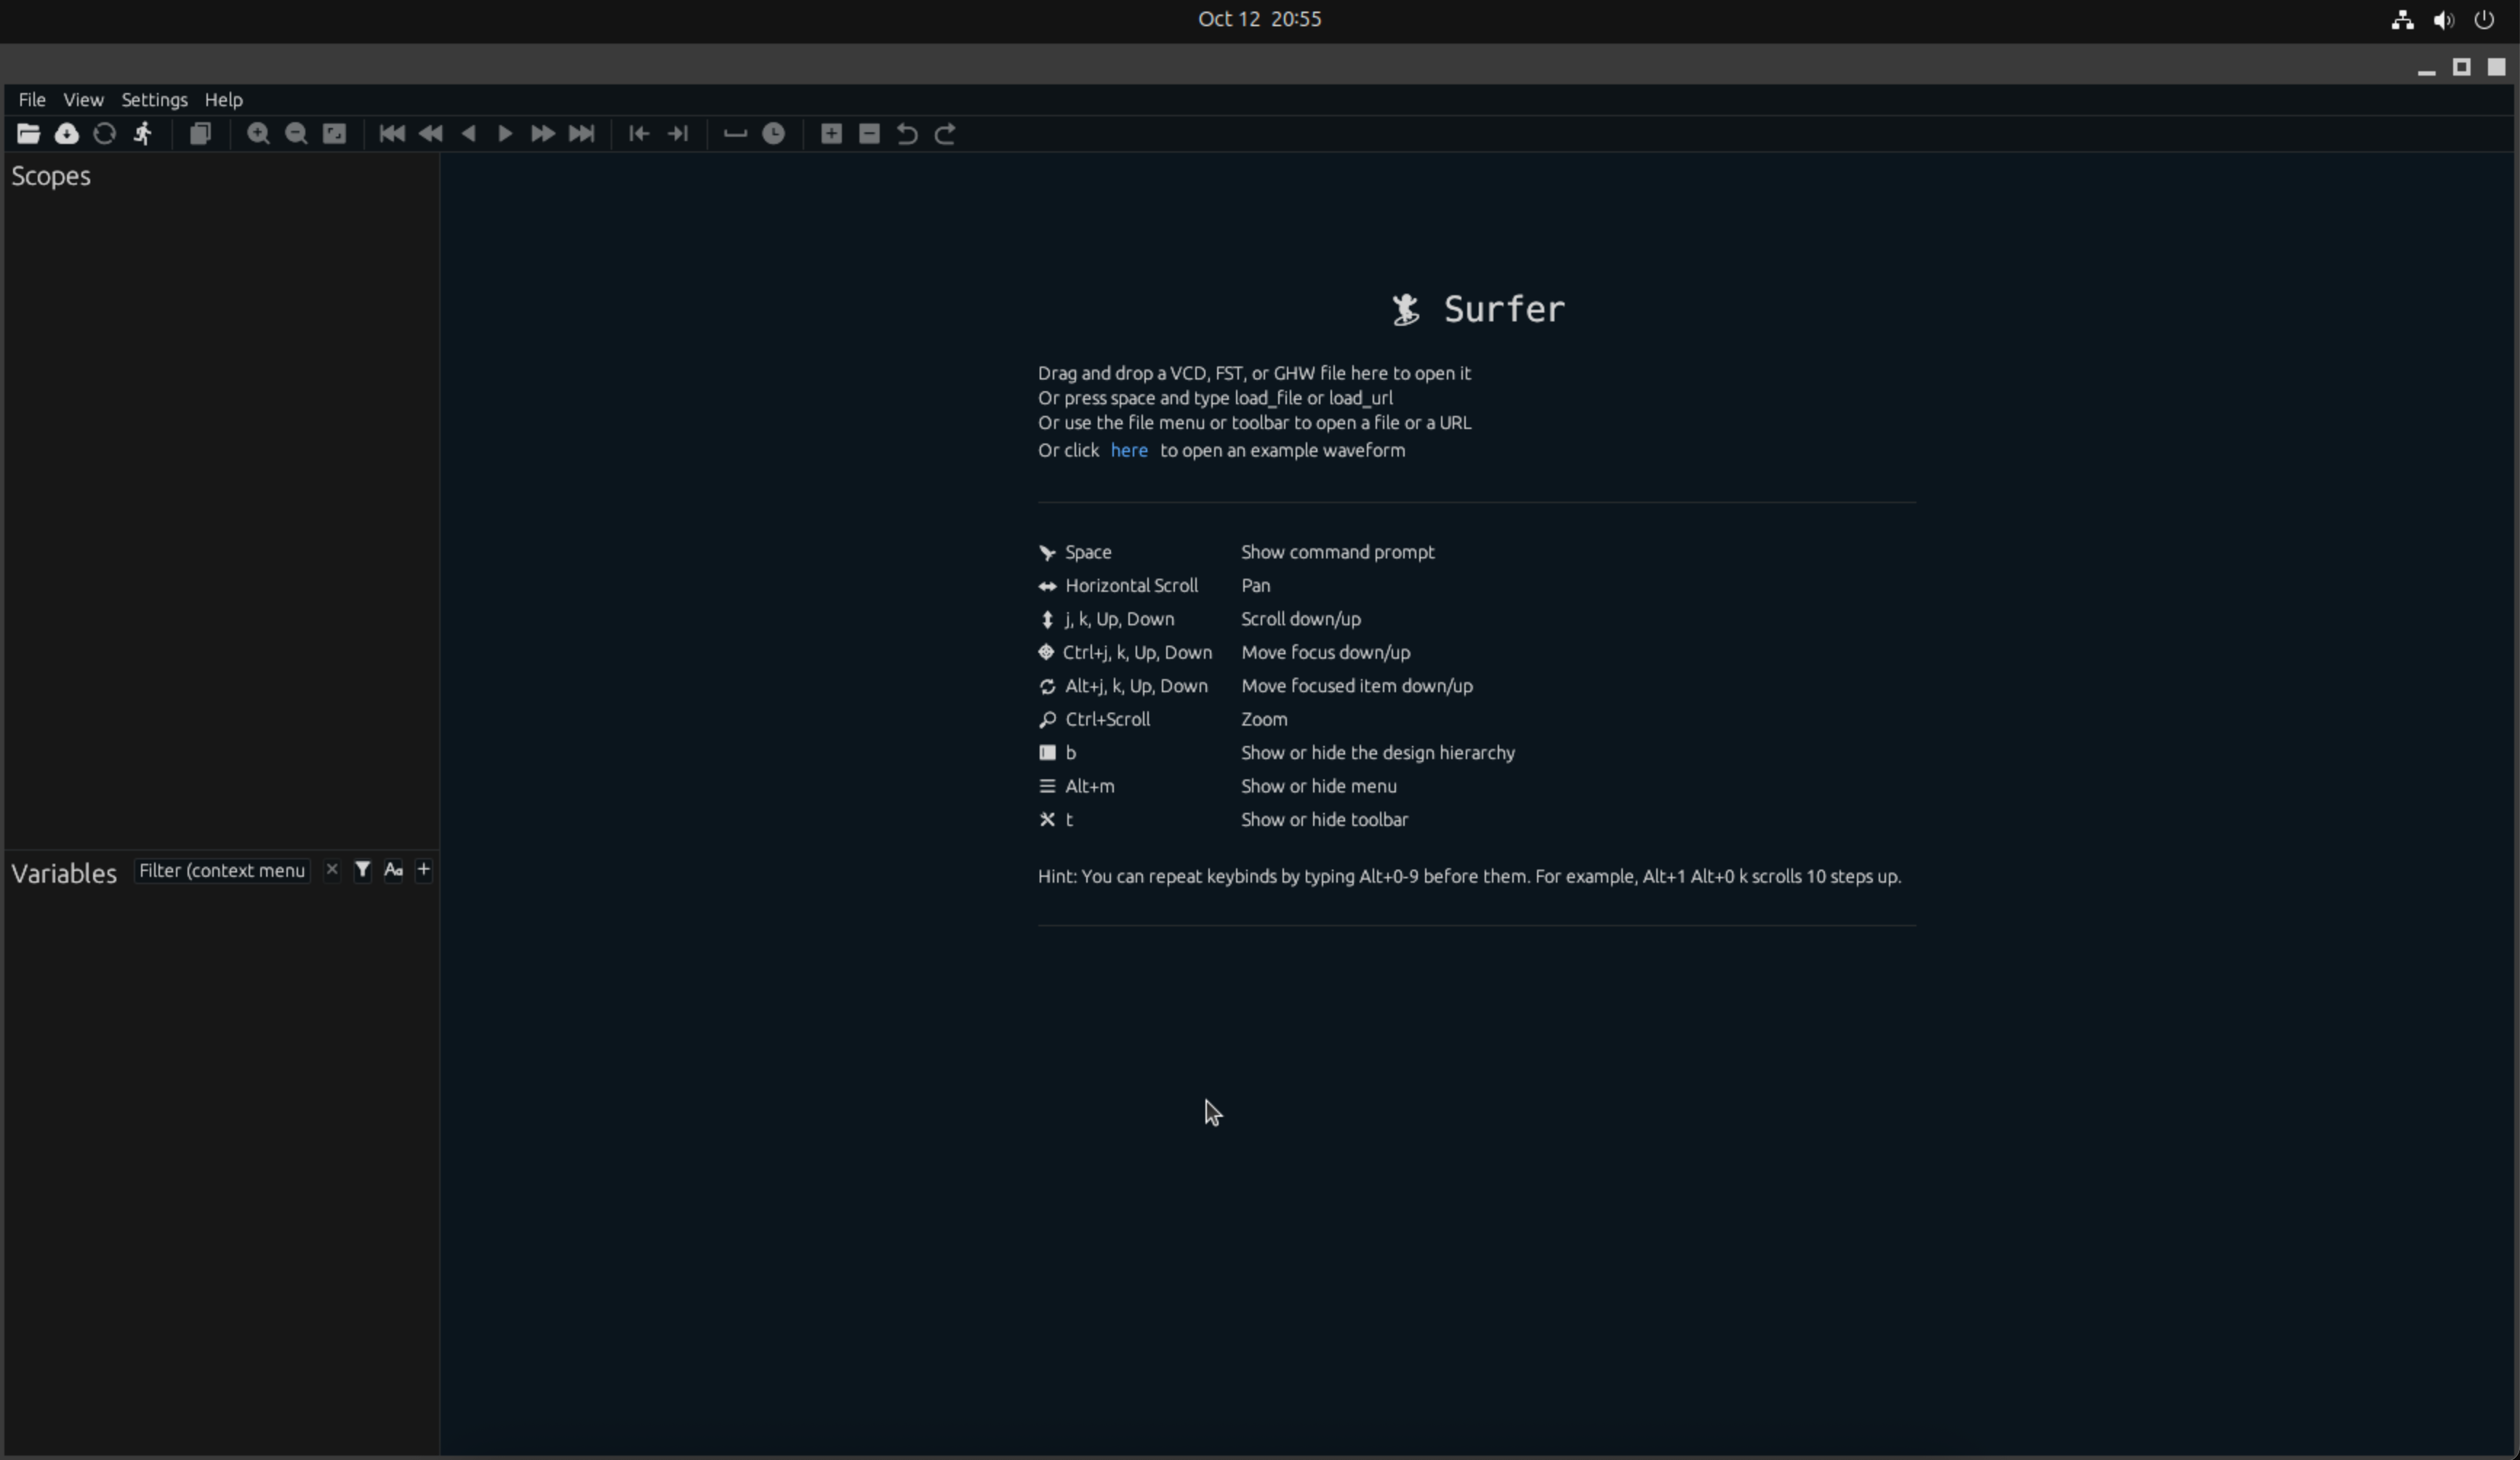
surfer mux2to1.vcd
Surfer will open with empty screen and tb_mux2to1 on left. You can display your waveforms by expanding and adding signals from bottom left pane. You should see:
- The
selsignal toggling between 0 and 1 - Inputs
aandbwith different values - Output
outcorrectly following the selected input

The waveform should show:
- When
sel=0,outfollows inputa - When
sel=1,outfollows inputb - Output changes immediately when select or inputs change (combinational logic)
We now have a complete open-source SystemVerilog simulation environment! Verilator provides fast simulation speeds, and Surfer offers a modern interface for waveform analysis. This toolchain is perfect for learning digital design, prototyping RTL, and even professional FPGA/ASIC development.